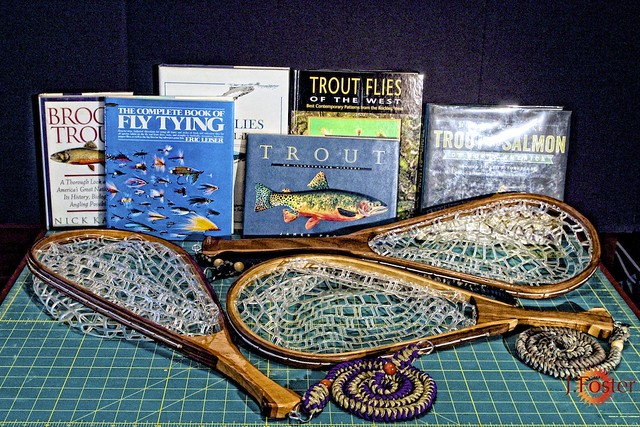
The Nets are done and I’m really pleased with how they came out, this being my first attempt at steam bending or building my own net frames. Two of them will make nice gifts for my Dad and my Brother.
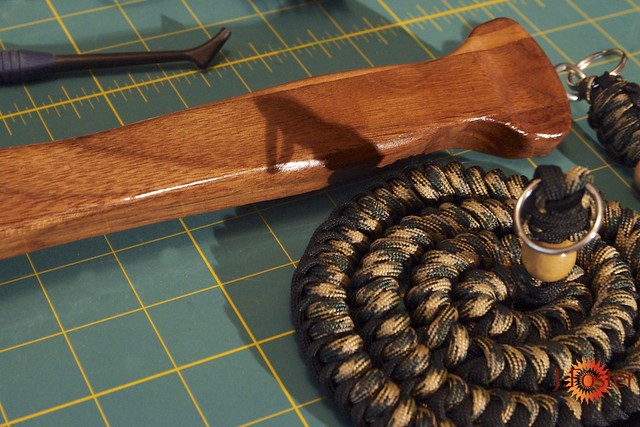
Net#1: Walnut and Alder Hoop with a Walnut Handle. The inside diameter of the hoop is 9”x14” with an overall length of 21.5”. One of my hand made fly fishing lanyards is on the table behind the net. I fish with a lanyard to hold my fly fishing tools rather than a vest most of the time.
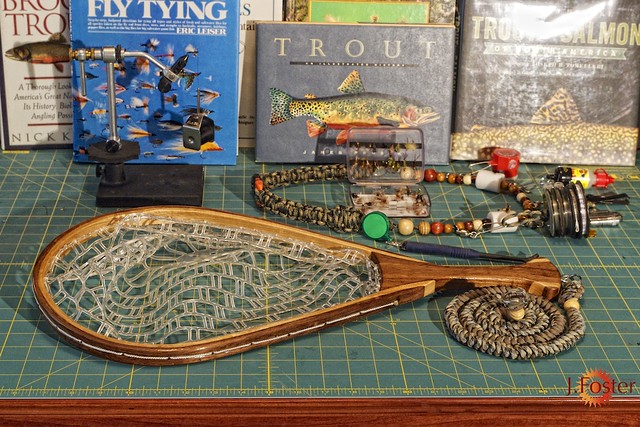
Net #2: Walnut and Cherry Hoop with a Maple Handle. The inside of the hoop is 9”x16” with an overall length of 24”.
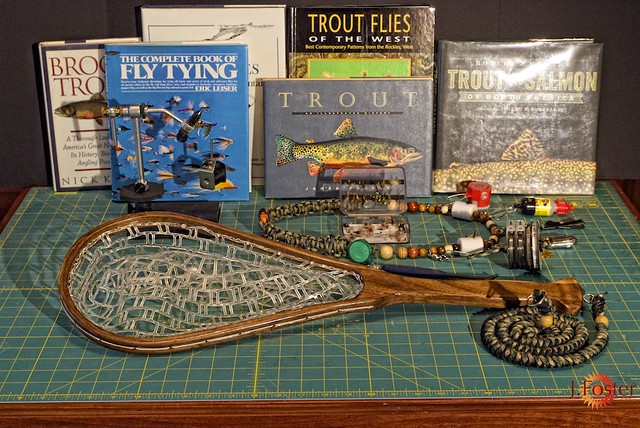
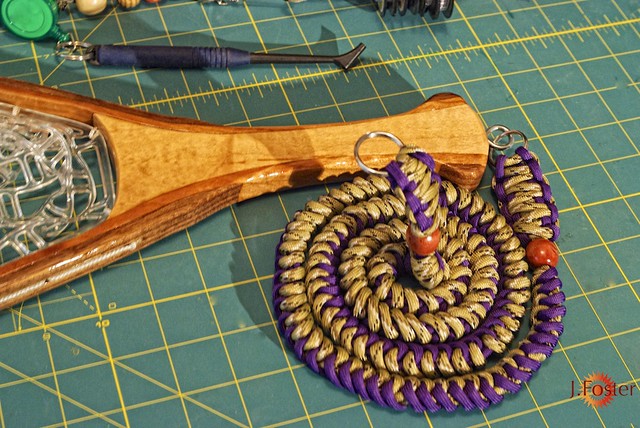
Net #3: Walnut Hoop with Walnut Handle. The inside diameter is 8”x15” with an overall length of 25”.
I learned a lot by trial and error along the way. Here are some tips I’m happy to share:
Bending Tips: #1: Look for wood with straight grain. Quartersawn wood would be ideal if you have access to it. I made the most of what I had on hand and tried to use the straightest grain sections for the hoops and the rest for the handles.
#2 If you have trouble with your strips breaking and splitting after steaming them for 1 hour at 210F – 212F, try soaking the strips first. I broke my first two strips and then started over by placing all of the rest in my swimming pool for 24 hours. If you don’t have a pool, use your bathtub.
#3: Work fast as the strips will cool rapidly once they are removed from the steamer. Set out all of the clamps you will need beforehand. I started my bending at the center of the strip and worked back toward the handle spacing my clamps evenly on each side as I went.
#4: Bend the wood gradually to avoid splitting. It’s hard to describe, but you will get a feel for it with practice. It feels sort of like the wood is stretching a bit as you bend it. If the strip is hot enough to bend, it will feel a bit rubbery as you increase the pressure.
#5: Keep a thermos of very hot water within reach to give you some extra working time to get a tight fit as you clamp up your handle. This was a big help on the second and third nets that I built.
Sourcing supplies:
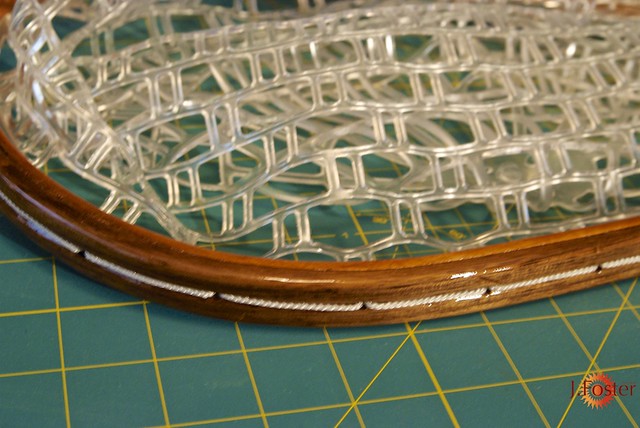
#1: I really wanted to use rubber net bags over nylon or cotton, because they are easiest on the fish and they resist tangling when fishing more than one fly at a time (which I do most of the time). I didn’t care if the bags were clear or black. I couldn’t find any local sources for net bags here in Las Vegas (including our local BassPro) and didn’t see many affordable options from the usual online fishing stores. I finally found them for sale on eBay from another fly fishing woodworker and got them for half of what I would have paid for replacement bags from one of the famous net manufacturers. The best deal would have been to buy the net bags in bulk from the manufacturers but they had a minimum 100 net bags per order.
#2: Braided Dacron kite line is perfect for stringing the net bags. I priced braided Dacron fishing line at several online stores and it was pretty expensive (like $40 for a 300 meter spool of 200lb test). I needed less than 10’ per net so it seemed like a waste to buy an entire 300 meter spool. I was looking through my garage and I stumbled across the duffle bag full of kites that the kids and I fly at the park from time to time. I had several 500 foot spools of braided Dacron line (exactly the same stuff as the braided Dacron fishing line) in both 80lb and 200lb test. So my kites will only reach 470 feet now (who’s going to notice?), at least I saved the $40. I went with the 200lb test line because I liked the thickness.
#3: The Size 10 screw eyes and split rings came from Home Depot.
#4: I made the net retainer lanyards myself using a Chinese Snake Knots and King Cobra Knots that I learned from watching YouTube videos. All I need to add now are magnetic net releases. I’m going to be building these myself using rare earth magnets epoxied into small wooden blocks to match each net frame.
Net Assembly Tips:
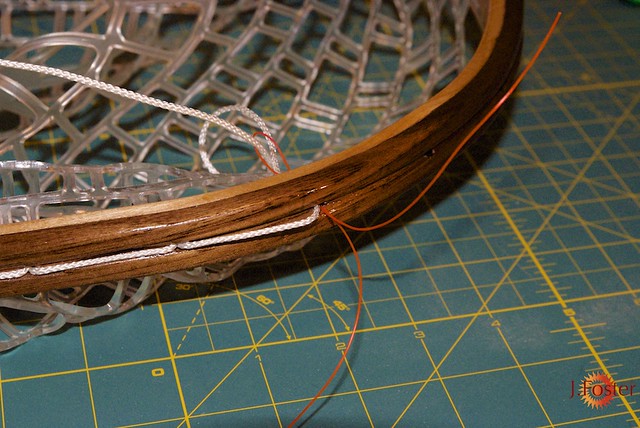
#1: Make a simple spacer to ensure that the hole spacing is consistent. I waited to drill my holes until I had my net bags in hand, so I could measure the spacing I needed. I used a piece of scrap from one of my broken strips to make the spacer block which I clamped on the frame between each hole location.
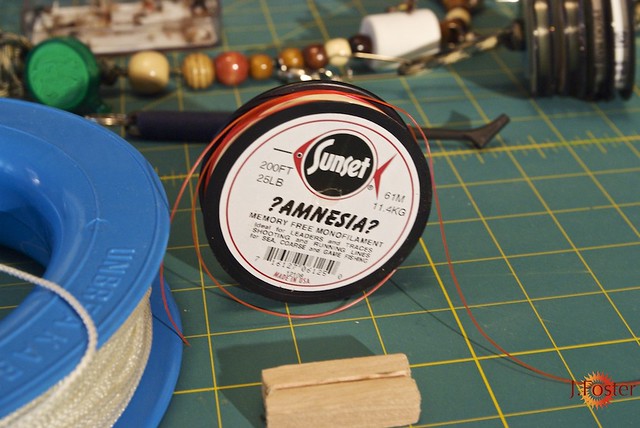
#2: Use a piece of monofilament fishing line to thread the Dacron line through the holes. I used 25lb red Amnesia mono (which I use for fly tying and leader building) as my threader because it is easy to see. You need to thread the Dacron through each hole twice, so a piece of strong, thin mono is ideal for this task.
#3: Get comfortable when you plan to thread the net bags into the frames because it’s going to take a while. I watched the entire NLCS game last night while I was doing my threading and I finished about the time the game was over.
One of the best things about this project was that it didn’t require very much wood at all to build an attractive net frame. I have a nice piece of Pau Ferro and some Ash with an interesting grain that I plan to use in my next two net frames. I’m also planing on cutting my strips a bit thinner so I can use three to five contrasting colors in my hoops. Now that I’m practiced up, I’ve got the confidence to push my designs a bit further.
I hope this has been helpful to any of you who have wanted to try steam bending or net making for the first time.
Regards,
Jeff
Crafty Puzzles
No comments:
Post a Comment