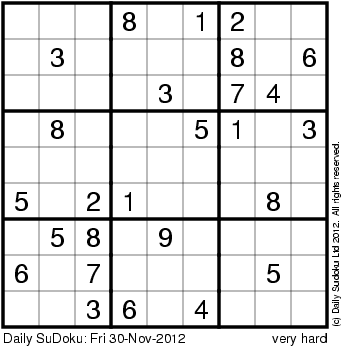
Friday 30 November 2012

"Kaha-Pehan" Coffee table chest of drawers


via LumberJocks.com RSS Feed - All Posts http://lumberjocks.com/projects/74915

"Kaha-Pehan" Coffee table chest of drawers


This is another piece from my recently concluded KOLEKTOR SERIES 2012 exhibit. “Kaha-pehan” is a coffee table with 12 drawers designed and computed to fit on its 4 sides… sort of a puzzle where you can actually loose your keys by forgetting which drawer on which side you placed it. The carcass with the drawers were first built before I started sculpting around it. Sanding was part of the sculpting process to accentuate the ridges and lines. The face drawers are 2.5” thick molave ( philippine teak) for me to be able to gouge out the drawer pulls as part of the sweeping lines around the chest. I inserted four 3” high by 2” diameter Amboyna burl pegs on the balayong top to hold the 3/8” thick glass. The face drawers are carved from Molave, the drawer sides, and rails are ipil.


“Kaha-pehan” has found it’s new home after the exhibit. You can see more photos of “Kaha-pehan” On my like page https://www.facebook.com/benjireyes.


Have a great weekend guys!


Crafty Puzzles
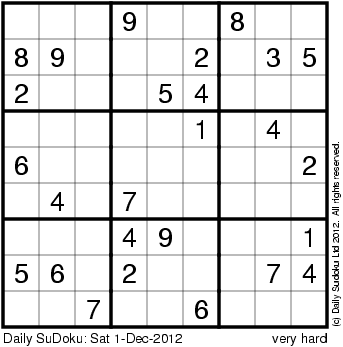
Daily Sudoku: Sat 1-Dec-2012


by via The Daily Sudoku

Daily Monster Sudoku: Sat 1-Dec-2012


by via The Daily Sudoku

Daily Squiggly Sudoku: Sat 1-Dec-2012


by via The Daily Sudoku

Sweet Chest of Drawers Build #5: Bottom front and back rails


via LumberJocks.com RSS Feed - All Posts http://lumberjocks.com/Kyle82/blog/33228

The last blog was about joining the sides on the top and now this one is about joining them from the bottom. This part is going to be a little more tricky. This is my first indication that I’m actually building the beginning of what will be a giant puzzle when it comes to glue up time.

.

.

.

.

.

If you’ve read the blogs before this one, you’ll remember that I made a triple mortise and a double mortise on each of the legs. If you don’t remember or didn’t see the blog, this was a picture of what the triple mortise looks like. I already made the double tenon and now it’s time to make the triple tenon.

.

.

.


.

.

.

.

Mark those triple tenons out…

.

.

.


.

.

.

.

Cut them…

.

.

.


.

.

.

.

Cut cut cut…

.

.

.

.


.

.

.

.

Now the formula here is to have two short tenons, and one long tenon.

.

.

The outside tenons will meet the perpendicular rail’s tenons and the middle tenon just fits in the mortise. Well, you’ll see what I mean.

.

.

.

.

.


.

.

.

.

.

Now all the tenons bottom out on the mortises, so I had to get creative and come up with a solution for the perpendicular tenons, and that solution was to miter the tenons.

.

.

.

.

.


.

.

.

That last picture is the only evidence of that joint.

.

.

.

As neat as it was to make, it’s completely concealed and nobody will ever know what kind of joint is in there. Oh well, I know, and you guys know it’s there.

.

.

.

.

Tight, perpendicular, and plenty of glue surface. That should hold up, shouldn’t it?

.

.

.

.

.


.

.

.

.

.

Then to do it three more times and assemble to make sure it all fits and looks good.

.

.

.

.

.


.

.

.

.

.

That was fun.

.

.

.

.

.

Any questions or concerns?


Crafty Puzzles
Wednesday 28 November 2012

Checkerboard Christmas Present #1: Winging it.


via LumberJocks.com RSS Feed - All Posts http://lumberjocks.com/Retsof/blog/33200

I have been thinking about what I could build for my 10 year old daughter for Christmas. She enjoys board games like Monopoly and Clue, so I thought I would build a fancy board game box to hold a Monopoly set with a drawer to keep all the money, cards, and game pieces organized. I looked at the others posted on LJ and a few other places on the web for inspiration and I played around with a few designs of my own in SketchUp.


As with most things I draw in SketchUp, I was spending so much time on it, that I thought I had better get out to the garage and start cutting some wood or I will never finish in time for Christmas Eve.


My first step was to make a full sized template out of 1/4” MDF to sketch out a few ideas for the top of the box and I decided that it should double as as Checker/Chess board.


I’m just winging this project based on the wood I have on hand. I thought some Pau Ferro (Bolivian Rosewood) for the dark, and Ash for the light squares would look nice and I had a couple boards of each with some nice grain.


I was able to finish cutting out all of the squares for the playing surface this evening. The checkerboard surface measures 20” x 20” (the size of a standard Monopoly game board). It is made of 64 2.5” squares. I laid it out on top of my template before I called it a night:


Photobucket


Photobucket


I’m planning on adding a picture frame style border to bring final dimensions of the top to 24” x 24” which will give the the room I need to store the game pieces underneath (I hope. I still have some measuring to do before I build the box and drawers).


Once I finish the top, I’m going to try my hand at building the box with dovetail joints (another first for me). I’m also thinking about adding two drawers on opposite sides, one for the Monopoly set, and one for the checkers/ chess pieces.


I’ll post an update over the weekend as I make more design decisions. Who knows, I may even put legs on this and turn it into a table if I have enough time.


Regards,


Jeff


Crafty Puzzles

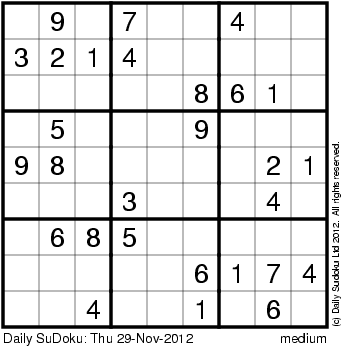
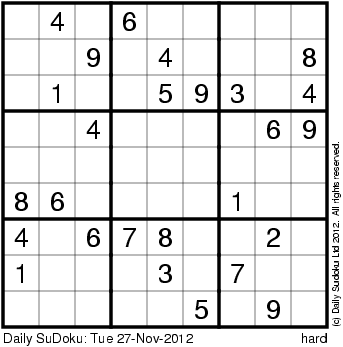
Daily Sudoku: Thu 29-Nov-2012


by via The Daily Sudoku

Daily Monster Sudoku: Thu 29-Nov-2012


by via The Daily Sudoku

Daily Squiggly Sudoku: Thu 29-Nov-2012


by via The Daily Sudoku

Tuesday 27 November 2012

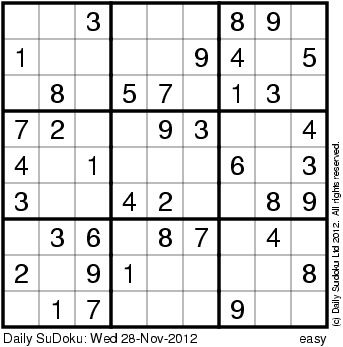
Daily Sudoku: Wed 28-Nov-2012


by via The Daily Sudoku

Daily Monster Sudoku: Wed 28-Nov-2012


by via The Daily Sudoku

Daily Squiggly Sudoku: Wed 28-Nov-2012


by via The Daily Sudoku

Strainer Shadow Optical Illusion


via Mighty Optical Illusions http://www.moillusions.com/2012/11/strainer-shadow-optical-illusion.html

Strainer… well, there’s another english word I learned today. Concerning illusion motives – it’s also the first. Are you able to pinpoint the illusion in this miniature “art installation” project? It certainly isn’t that hard to see, but when you do you’ll be amazed how detailed the result really is! I’d like to thank Bernard for showing me this, but I’d appreciate even more if we could once again locate the original source. Enjoy!


Strainer Shadow Optical Illusion


Crafty Puzzles