Friday 30 November 2012

"Kaha-Pehan" Coffee table chest of drawers


via LumberJocks.com RSS Feed - All Posts http://lumberjocks.com/projects/74915

"Kaha-Pehan" Coffee table chest of drawers


This is another piece from my recently concluded KOLEKTOR SERIES 2012 exhibit. “Kaha-pehan” is a coffee table with 12 drawers designed and computed to fit on its 4 sides… sort of a puzzle where you can actually loose your keys by forgetting which drawer on which side you placed it. The carcass with the drawers were first built before I started sculpting around it. Sanding was part of the sculpting process to accentuate the ridges and lines. The face drawers are 2.5” thick molave ( philippine teak) for me to be able to gouge out the drawer pulls as part of the sweeping lines around the chest. I inserted four 3” high by 2” diameter Amboyna burl pegs on the balayong top to hold the 3/8” thick glass. The face drawers are carved from Molave, the drawer sides, and rails are ipil.


“Kaha-pehan” has found it’s new home after the exhibit. You can see more photos of “Kaha-pehan” On my like page https://www.facebook.com/benjireyes.


Have a great weekend guys!


Crafty Puzzles
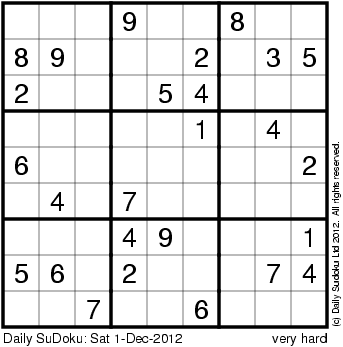
Daily Sudoku: Sat 1-Dec-2012


by via The Daily Sudoku

Daily Monster Sudoku: Sat 1-Dec-2012


by via The Daily Sudoku

Daily Squiggly Sudoku: Sat 1-Dec-2012


by via The Daily Sudoku

Sweet Chest of Drawers Build #5: Bottom front and back rails


via LumberJocks.com RSS Feed - All Posts http://lumberjocks.com/Kyle82/blog/33228

The last blog was about joining the sides on the top and now this one is about joining them from the bottom. This part is going to be a little more tricky. This is my first indication that I’m actually building the beginning of what will be a giant puzzle when it comes to glue up time.

.

.

.

.

.

If you’ve read the blogs before this one, you’ll remember that I made a triple mortise and a double mortise on each of the legs. If you don’t remember or didn’t see the blog, this was a picture of what the triple mortise looks like. I already made the double tenon and now it’s time to make the triple tenon.

.

.

.


.

.

.

.

Mark those triple tenons out…

.

.

.


.

.

.

.

Cut them…

.

.

.


.

.

.

.

Cut cut cut…

.

.

.

.


.

.

.

.

Now the formula here is to have two short tenons, and one long tenon.

.

.

The outside tenons will meet the perpendicular rail’s tenons and the middle tenon just fits in the mortise. Well, you’ll see what I mean.

.

.

.

.

.


.

.

.

.

.

Now all the tenons bottom out on the mortises, so I had to get creative and come up with a solution for the perpendicular tenons, and that solution was to miter the tenons.

.

.

.

.

.


.

.

.

That last picture is the only evidence of that joint.

.

.

.

As neat as it was to make, it’s completely concealed and nobody will ever know what kind of joint is in there. Oh well, I know, and you guys know it’s there.

.

.

.

.

Tight, perpendicular, and plenty of glue surface. That should hold up, shouldn’t it?

.

.

.

.

.


.

.

.

.

.

Then to do it three more times and assemble to make sure it all fits and looks good.

.

.

.

.

.


.

.

.

.

.

That was fun.

.

.

.

.

.

Any questions or concerns?


Crafty Puzzles