Time to travel some different roads this journey and see what becomes of my new project…...The handcrafted country carving throne (AKA milking stool)....lmao! I do try to add entertainment value to these whacky ideas of mine…..so please work with my insanity folks….lol.
I was tossing around various ideas and as the game sometimes goes I just could not get a design topic that made me start to have that creative spark. Then…..so natural I thought, I could use a little seat to sit and carve my spoons, plus I have yet to try making anything like this….so now is the time!
The day came to walk down the roads of box store Douglas fir pine and its lovely spinsterish wonderland. There I was standing in Lowes fussing over the lack of available lumber without remembering this is old school craft work, no time for whining, make it yours!....lol. So I gave myself a pep talk, fired up some galoot spirit and a sawing I went to start the job in the shop!
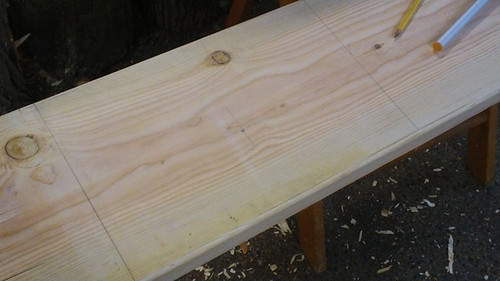
Pic 1: Setting up the width to saw out two planks and joint them up!
Pic 2-3: Between the 32 degree temps and the dried pine I sharpened up my little disston crosscut and added some mutten tallow for making the job a little easier.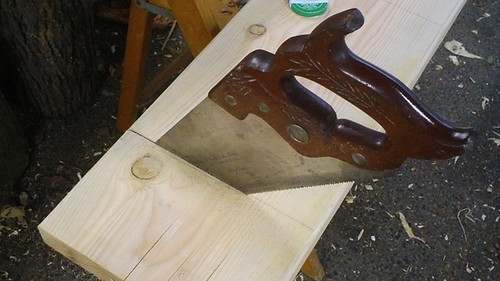
I like to use the saw handle makers creative patterns to lay a little of the tallow in for quick access as I need it!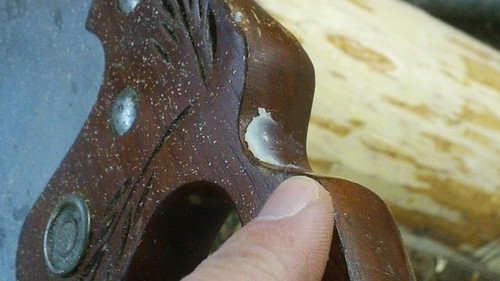
Pic 4: Two planks sawn and time to let the #4 1/2 have a go at the jointing. She was fresh off of the diamond stones and was more than providing gossamer shavings as I worked it down.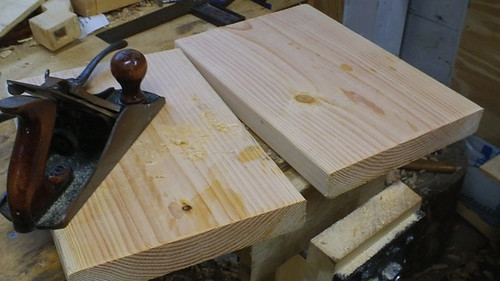
Pic 5: We skipped over the glue up although I am sure you get the grasp of that portion. Now with the board glued and convex/conave a wiggle here and there, it was time to dog up the glued piece and begin to shave it flat on both sides. Made for some good warming and working as the 30 degree temps were just fine at this point teamed up with my small heater….lol. Yes this old school work gets the heart pumping for sure friends.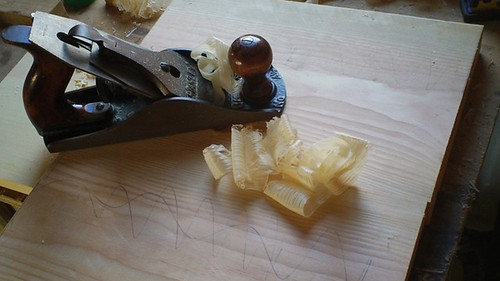
Pic 6: Now with the work producing a fairly flat result I took to getting my circle layed out for the next task.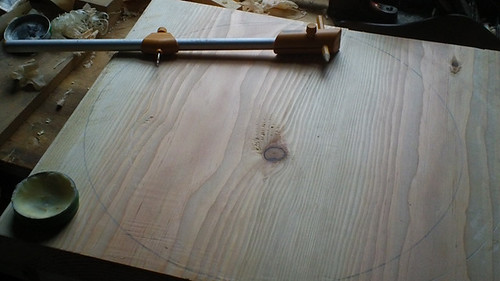
Pic 7-8: With my Grandfathers old Disston Rancher Rip saw I took to the extra wood and ripped it down. My work at times needs to have spontaneity, so I just move with instincts more than an overly structured plan, hence a little extra pine…..lol. But I will make good for it and use it for something.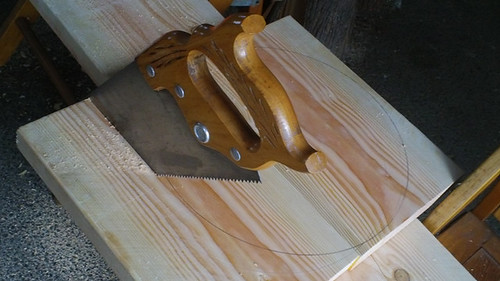
This old saw not much in the collecting saw world, but a family treasure sure enough. This oldie was used many days in my fathers garage when we lived in our log cabin. My Grandfather loaned it to him and we have had it ever since. Fun to use with her cleaned and cared for after years of getting rusted up a bit. She sure helped me on this task. If saws could talk my stories would bore you…..lol.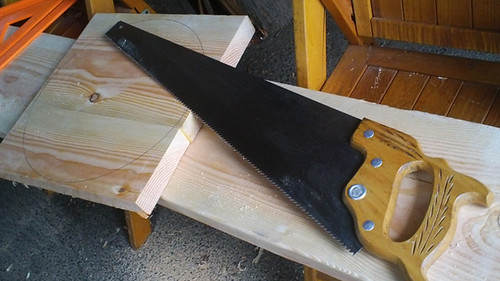
Pic 9-10: I suppose you could pic a few poisens here as far as to how you would like to get this sucker cut out. I used an old way I once was shown in a Roy Underhill article for cutting a larger lathe wheel. So I set about getting to the saw cutters gym and started the job.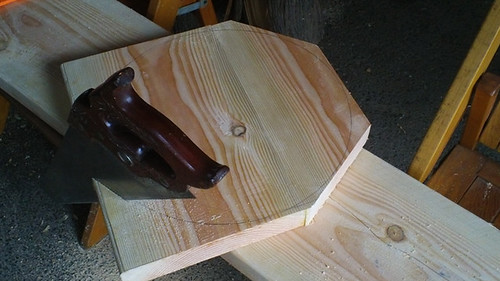
Triceps extenstions need not apply here….lol. Some good minutes on this work and the arms workout is on!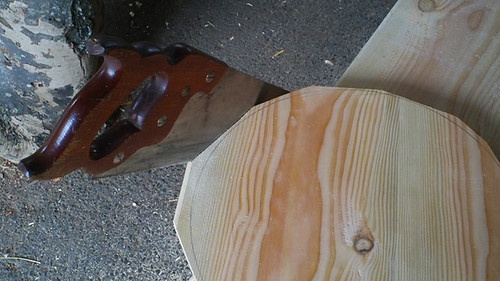
Pic 11-12: The payoff after the burning muscles is you get to play with the spokeshave…....ah the wonderful and ever addiction of paring clean shaves, seducing the rough edged bitchy pine is a job of patience!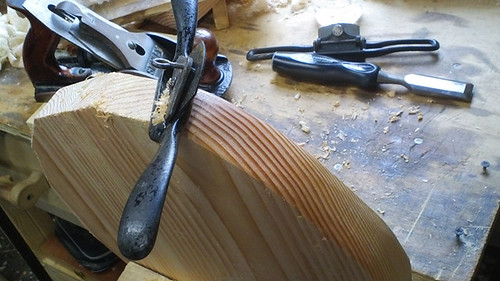
It’s in no way an easy affair to tackle it….so without a heavy hand feel your way, glide your blade and listen. You really have to tune in. The braun is within your sawing fist but the hands of angels to work this round and smooth. She will cuss you quick and rip pine strips splinters o plenty if you handle this without skill. I have a nice amount of saw tear out as exercises for the underneath to cut my teeth upon, believe me….lol.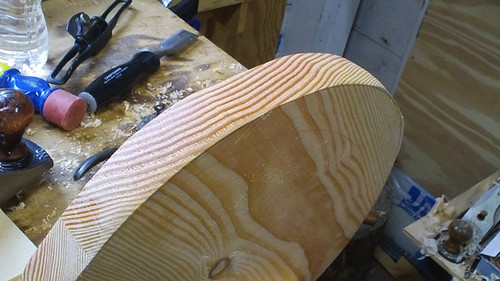
Pic 13: Roughed out with future potential. The rounding and shaving to continue but a nice first stage to get this piece into its future form.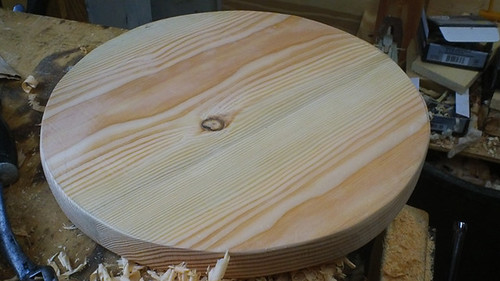
The tools used cost me little barring the # 4 1/2, hahaha….. I sure know all you plane addicts know that was not too cheap….lol.
But the point for anyone interested in this side of the woodworking game is…..using hand tools does not need to be such an expensive quest. Some good bargains at a flea market and you can start a handy collection for doing this work without gold plated 200 dollar hand planes….lol. Lie Nielson is awesome and top shelf make no mistake about it. My fear is this might make the new interested woodworker feel totally scared off at such insane amounts to pay for one hand tool as they want to learn these crafts in a traditional manner. So by chance if anyone has an interest and is just starting, please check out auctions, flea markets, ebay, etc. I learn more and more how to do so much with so little. It’s amazing really.
Ok gang, more work to follow of course.
Legs to turn on the lathe, more rounding and sanding, all kinds of trouble to get into!
Hope you stop by and check it out.
Thank you to all my friends, your continued support and good spirit is an inspiration, may you be well and may I soon get my new computer…..lol. Sorry, even with hand tools and all I too have been overtaken by the speed of modern technology, what’s a galoot to do?....lol.
CHEERS!
Joe
Crafty Puzzles