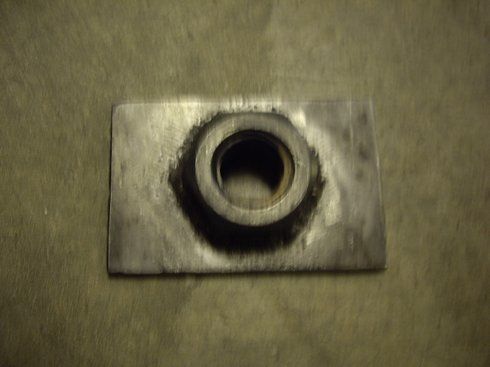
This morning I went over to my bosses house so we could weld up the bolt bracket for the leg vise. He had some scrap plate metal on hand and a plasma cutter (want one lol). He made quick work of the job and within an hour I have a rough plate with a large bolt attached to it.
He left it up to me to clean it up and drill the mounting holes plus I owe him lunch tomorrow heh. He ALSO gave me a practically new angle grinder so I can cut up the 6’ rod to length so that is a bonus. either I am about to get screwed over at work and he is softening the blow or he was just feeling generous either way I am a happy camper.
(sorry ‘bout the blurry pic..)

The back side. He flush mounted it through the plate.
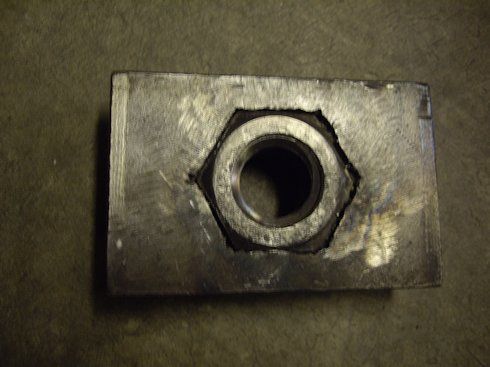
Like I said I just have to clean that up, drill 4 holes and shoot it with some gloss black enamel.
I also stopped by ACE hardware on Sat to look at their pipe fittings to try and piece together the hub and flange for the wheel portion of the vise.
I initially came up with this stack up..
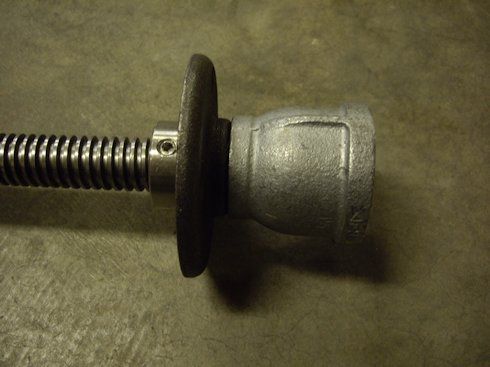
But after fiddling with it I’m just not happy with how smooth it spins. So I have placed an order with Reid Supply for a flange mounted bearing with 2 set screws to use instead of that floor mount flange. My only concern about the bearing is how well it will handle the side pressure from clamping but I am willing to give it a try. It was cheap enough to test out.
I am still waiting on the hand wheels to arrive so untill then any type of mating hardware is all theoretical until I have the actual wheel in hand to see how it is shaped on the rod side. They do have a line drawing on their site with dimensions and it says that the hub is 1 7/8” in diameter. I measured the inside diameter of the reducer I am going to use to mate the rod to the hub with and if you measure in the grove of the threads it is Juuuuuuuuust a hair smaller than 1 7/8”. This means that depending on how exactly the hub follows the line drawing I could very well just hammer this thing onto it and it would never go anywhere. I got a special hammer for that task :D Gotta love a BFH!
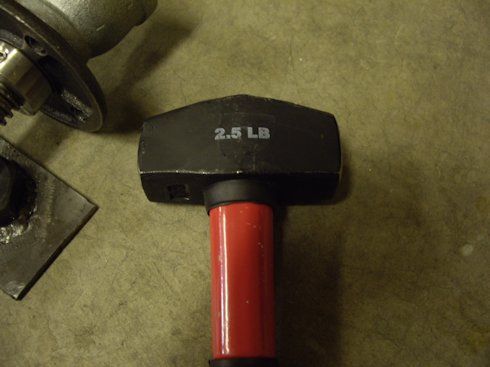
So that is one option. The other is to grid it out till it slips over and secure it with a set pin. Once the wheels arrive I will be able to finalize the puzzle.
One other addition to the vise hardware is a thrift store find of quite possibly the ugliest dress anyone has ever seen. I spotted it while the wife was browsing maternity wear and when I saw it hanging there it dawned on me that I need some suede for the vise jaws. This is all suede and only cost me $9! Plenty there for multiple projects.
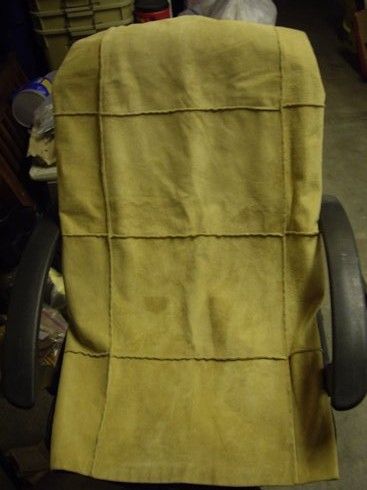
In other news. I made a stop at my local lumber supplier here on the island. They have a nice variety of hardwoods and exotics but only carry 4/4 stock and I need 8/4 (at least would like 8/4). They had some zebra wood there that I might pick up for some accents on the bench but so far no wood for the top to be found anywhere. I still have a couple more options but they are either a Ferry ride away or an hour drive north. So considering that I will need to recruit someone with a truck to haul it to my house I need to know for sure what they have. Uncle Sam is supposedly releasing my money tomorrow so I can finally start seriously considering the wood choices on this.
I am really hoping to start making saw dust by next weekend but we shall see how the ride works out this week. Hopefully someone will be willing to go looking at wood with me (sounds worse that it was ment to sound…)
Thanks for reading and updates to come. Advice and suggestions are always welcome.
Crafty Puzzles
No comments:
Post a Comment